
Setting up a local web server with proper SSL for multiple apps
Learn how to set up a lovely little development environment for web app development.

Written by Adam Cooke

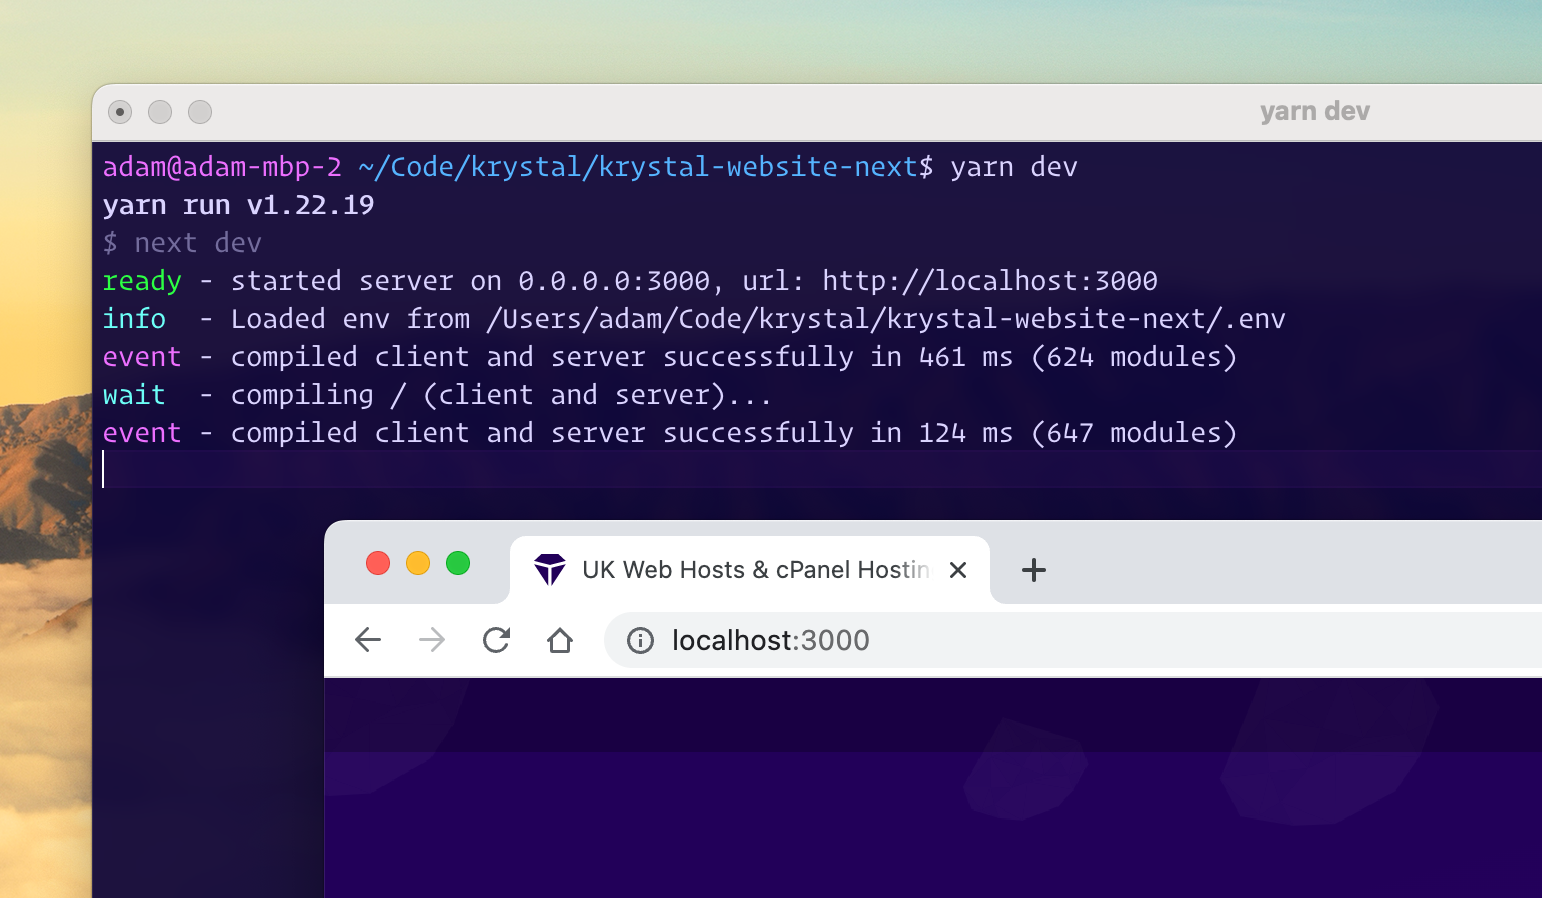
If you're developing web services on your local machine, you'll likely find yourself starting up a web server and then connecting to it directly using something like http://localhost:3000. This is all well and good until you need SSL or you're working with lots of different services on different port numbers.
In this blog post I'm going to explain my own set up which allows me to access my local web services using a hostname and with a valid SSL certificate. (Part 2 of this blog post will explain how I make them available to the wider internet on the same hostnames.)
If you follow these instructions you'll be able to simple go to URLs like https://my-project.dev.yourdomain.com or https://another-project.dev.yourdomain.com and have the traffic routed directly to the correct web server locally and with fully valid SSL.
What you'll need...
- You'll need your own public domain name which is pointed to use the Cloudflare nameservers and an API key for your Cloudflare account.
- Docker (with
docker compose) installed on your computer.
Let's do this...
To begin, you need to choose the name you want to use to host your sites on. In our case, we're going to use a public domain because, in part 2, we're going to allow sites to be available more globally too. I'd suggest something nice and short but it doesn't really matter.
For this example we're going to be using dev.example.com so be sure to replace that with your own domain.
Setting your DNS records
You'll need to point *.dev.example.com to 127.0.0.1. It's not all that normal to have public DNS records pointing to localhost but, in this case, we're going to do this by adding an A record on Cloudflare.
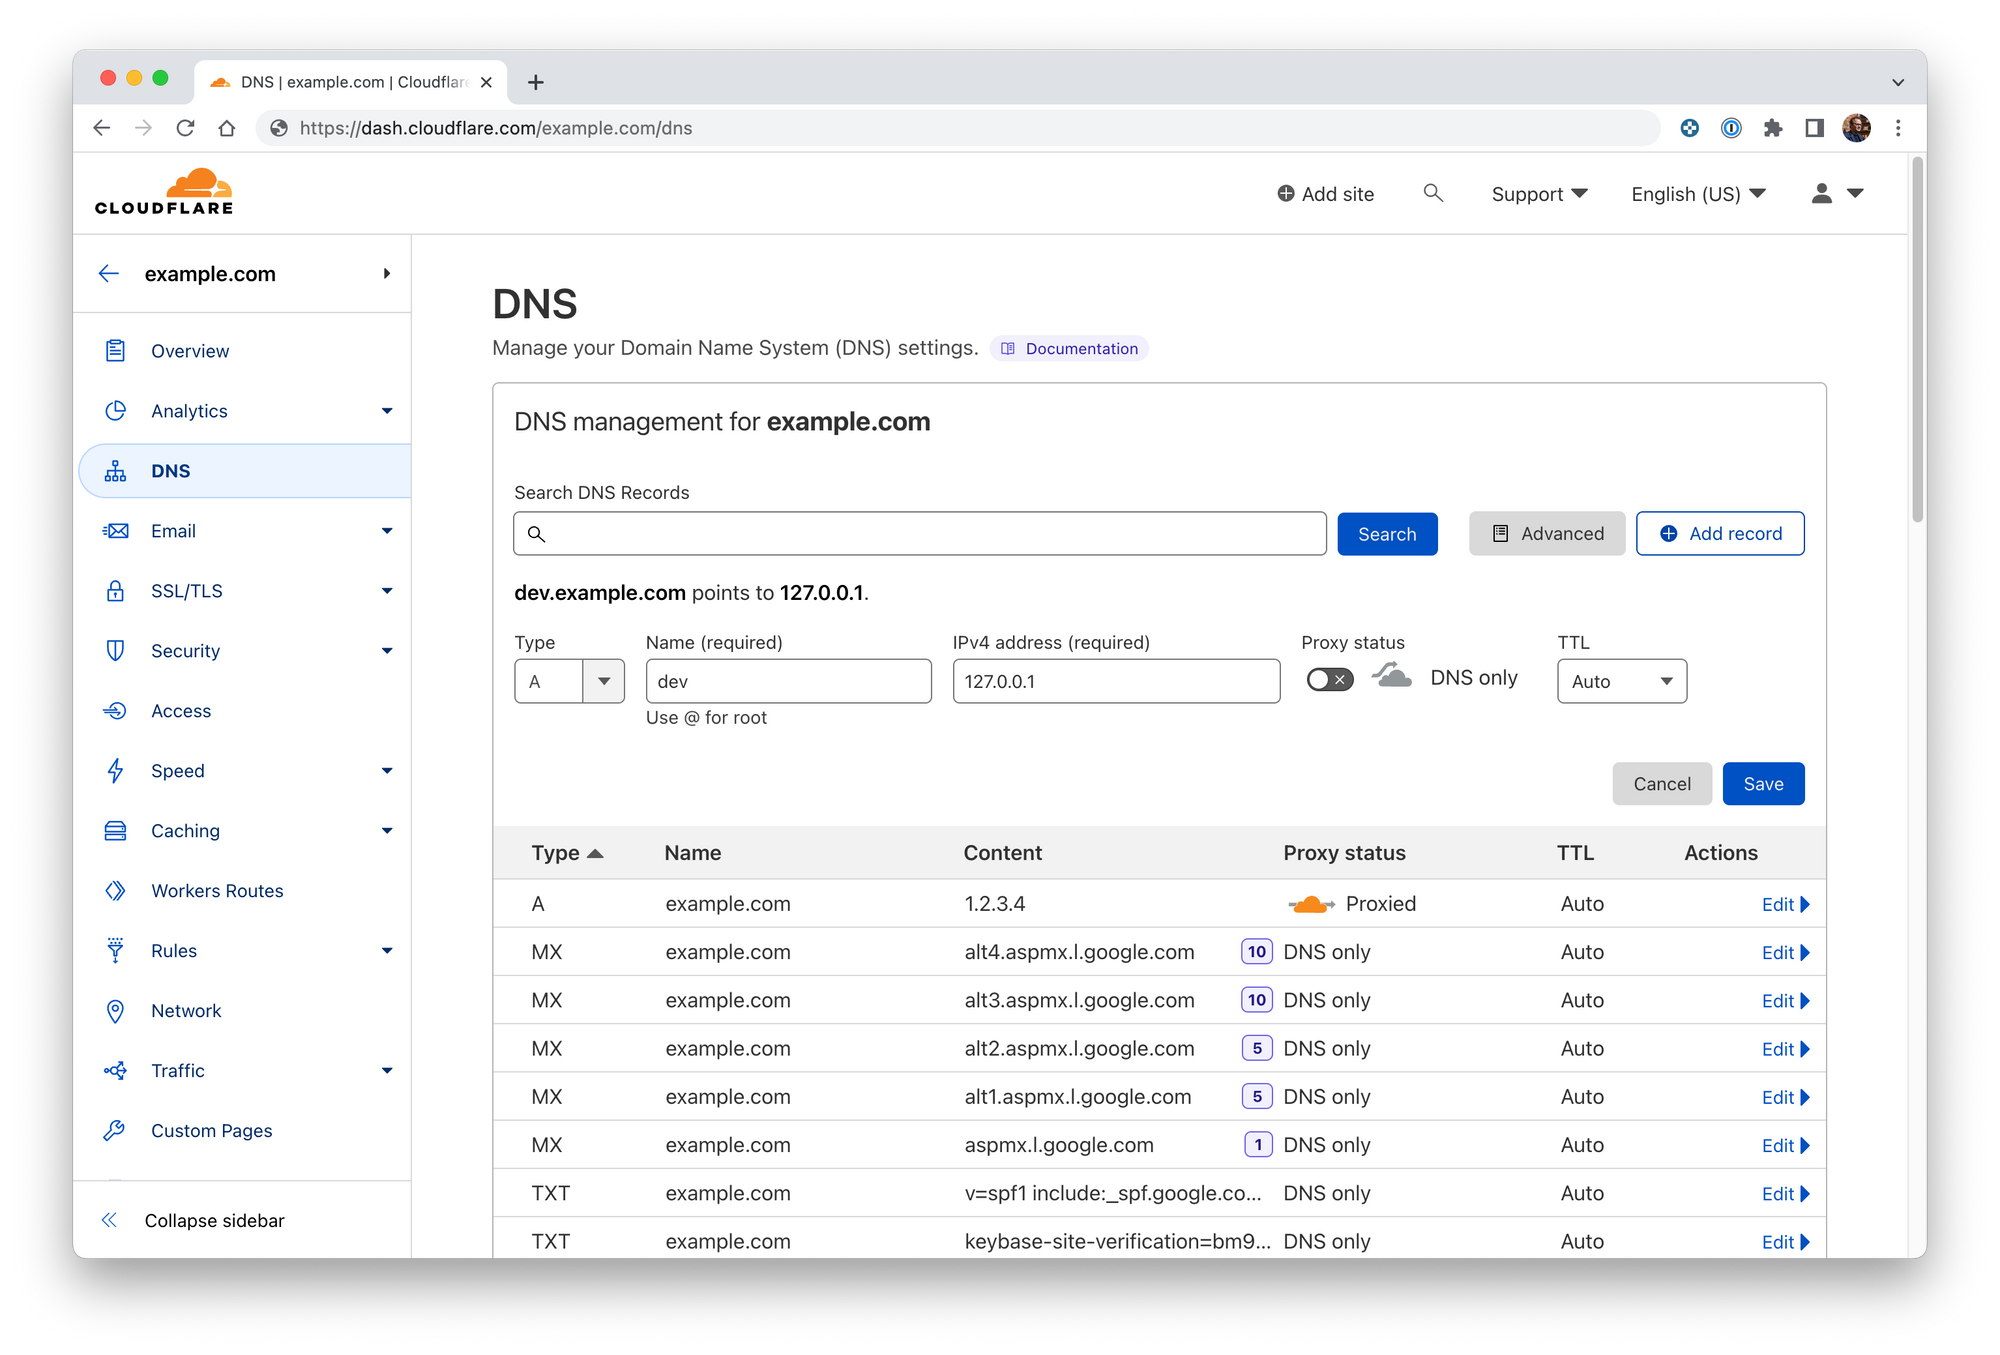
- Login to Clouflare's dashboard
- Find the domain you wish to work with
- Add a wildcard A record with the name as appropriate (
*.dev.example.com) and the IPv4 address as 127.0.0.1. You should ensure that proxy status is disabled - it won't work because Cloudflare can't access your localhost.
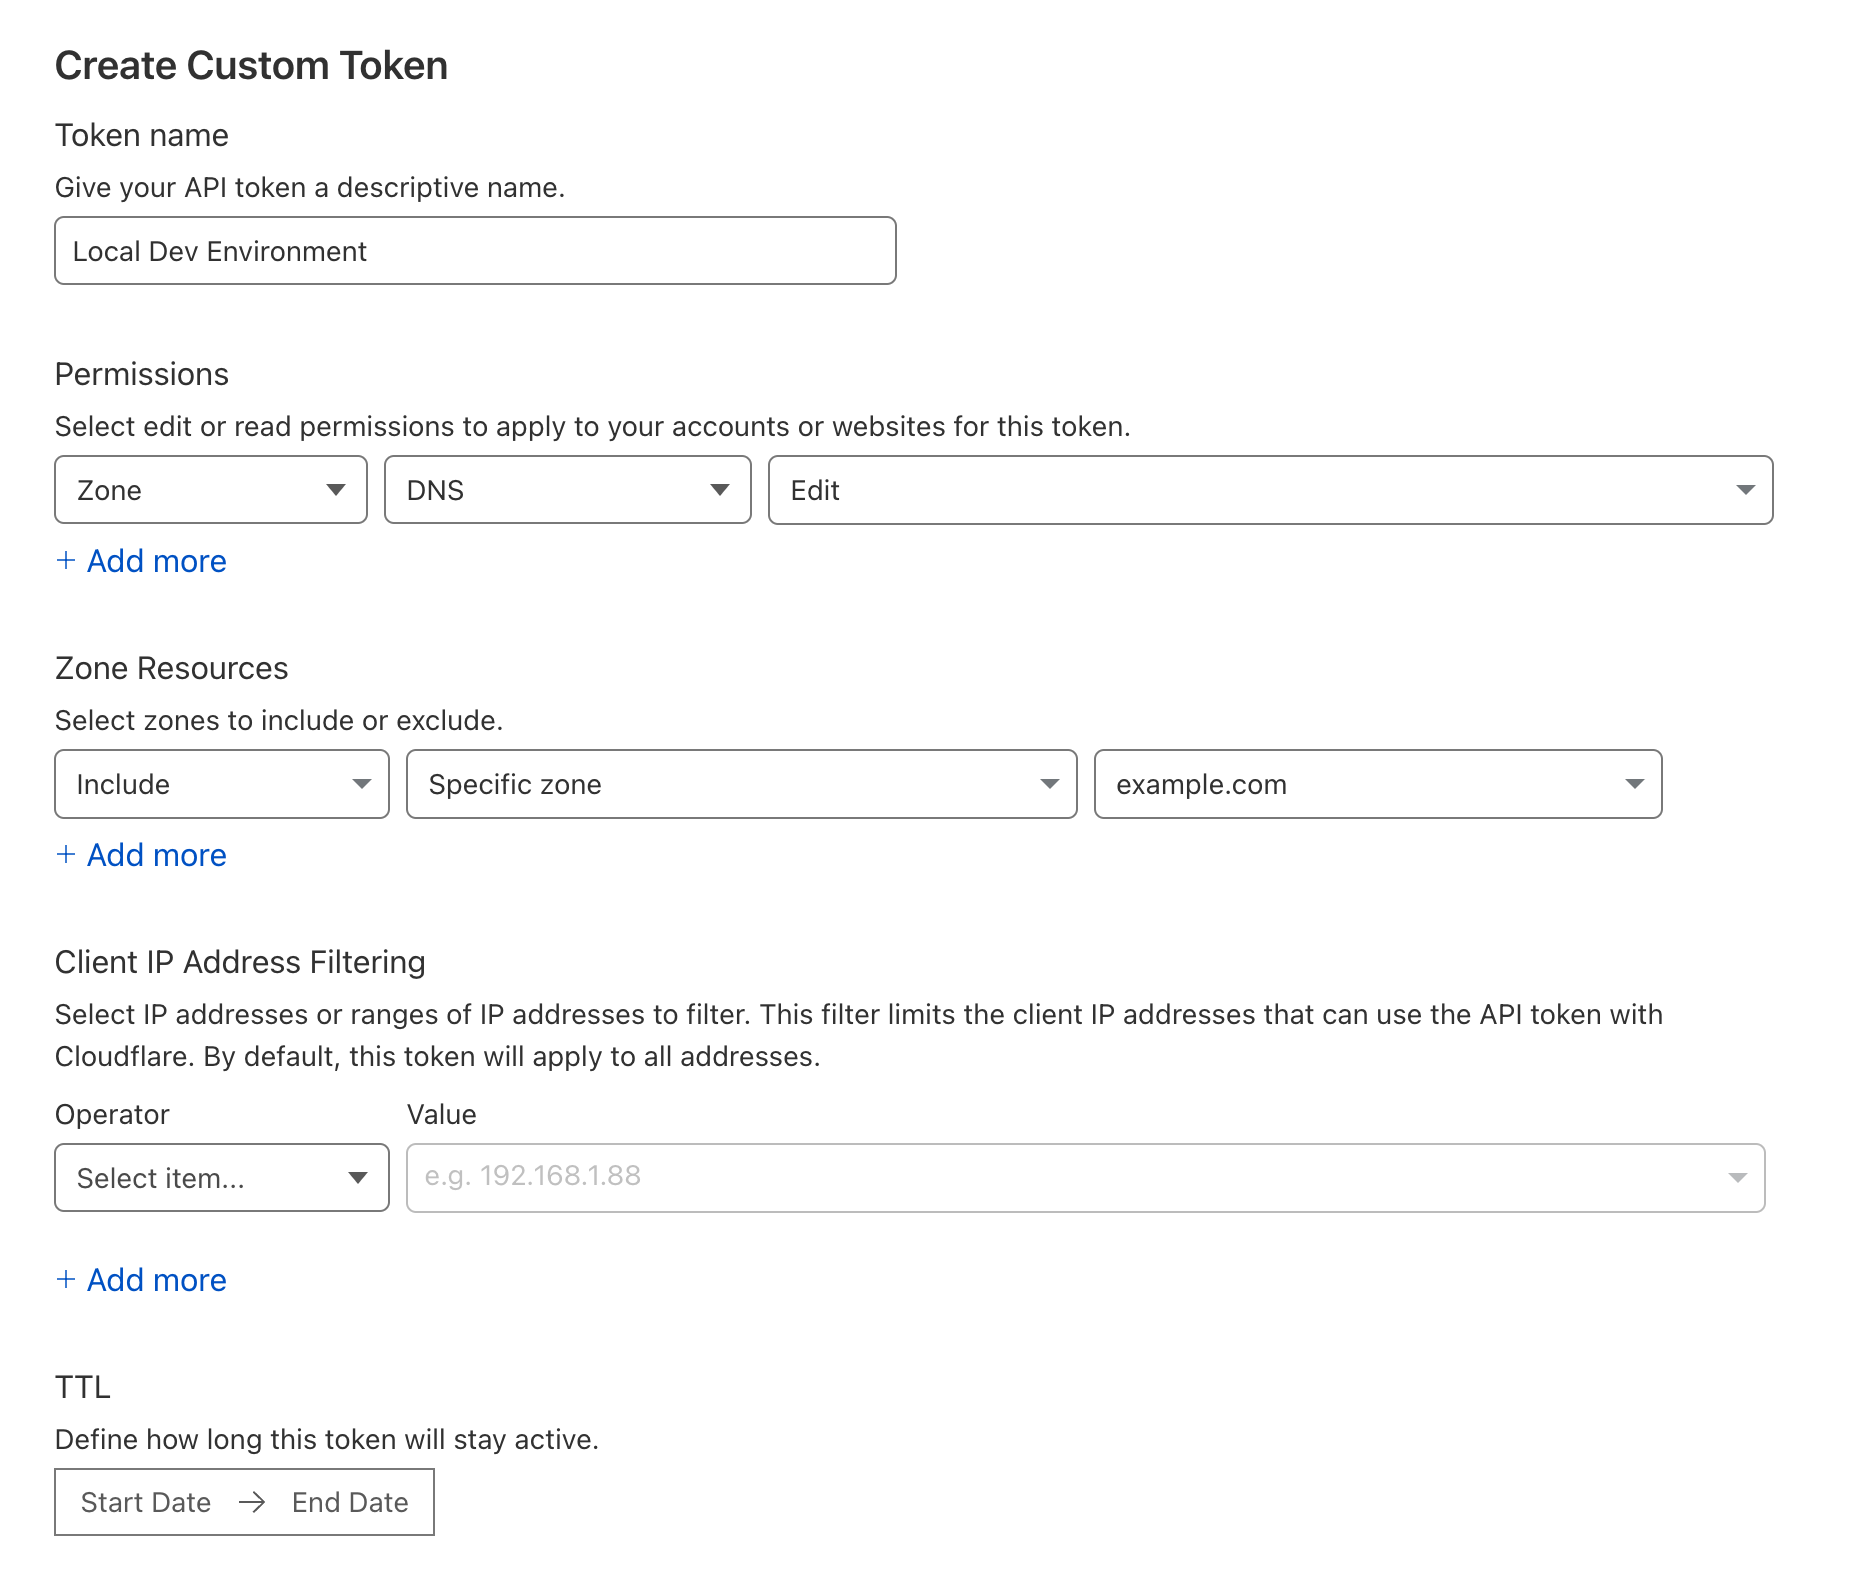
Grabbing your API token
While you're there, create a new API token which can be used by your local machine to faciliate the issuing of an SSL certificate for your local dev environment.
- Choose your user icon in the top right
- Select My Profile
- Choose API tokens in the sidebar on the left and press Create Token
- You only need to be able to edit the zone that you have just been working with (example.com) so create a token that has permissions to Edit this zone.
- Once created, copy the token somewhere safe so we can use it later.
Choosing ports
If you're running multiple web servers at the same time it's important to allocate each project/service its own unique port number and make sure it always uses that when it started. You can manage this allocation however you want but a small text file will probably suffice. It might look a bit like this but the format doesn't really matter.
4700: rabbits
4710: elephants
4720: cats-web
4721: cats-apiYou'll need to make sure that your web servers for each of these projects always uses the ports that you've configured. If you're working on your own, you can probably just configure the port in your repository but if you're not, you'll need to use an environment variable or some other configuration to set it.
In my case, I use a combination of dotenv and direnv which allows me to set environment variables in diretories which my applications then consume. Usually just the PORT environment variable but occasionally others when there are multiple web servers in the same project (WEB_PORT and API_PORT perhaps).
Getting everything configured
Caddy is a great little web server that needs very little configuration and mostly just works out the box.
We're going to use here to receive all web requests and proxy them, based on the hostname, to the correct web server.
To make things even better, it's also going to handle obtaining, renewing and using a SSL certificate for them all. In order to handle this, we're going to configure Caddy to use the Cloudflare API to create appropriate DNS records to ensure that certificate providers can verify that we own and control the domain we're requesting certificates for.
To make things even simpler, we're going to run this within a Docker container using Docker Compose.
Choose a directory on your machine to keep your configuration. In our case, we're going to use ~/Code/local/caddy.
We're going to be placing three files in this directory. We'll start by adding Dockerfile. This will contain the instructions needed to build our Caddy container. In thsi case,we're simply just adding the bits needed to handle SSL verification with Cloudflare.
FROM caddy:2.6.2-builder-alpine AS builder

RUN xcaddy build \
  --with github.com/caddy-dns/cloudflare

FROM caddy:2.6.2-alpine
COPY --from=builder /usr/bin/caddy /usr/bin/caddyNext, we need a docker-compose.yml file which dictates how we want to run Caddy on our machine. It's fairly straight forward here, we're going to building and running the container created from the Dockerfile above, exposing ports 80 and 443 to the host, mounting the Caddyfile config file and then mounting two directories to contain data and config which is only managed by Caddy.
version: "v3"
services:
  caddy:
    build: ./
    ports:
      - "80:80"
      - "443:443"
    volumes:
      - ./Caddyfile:/etc/caddy/Caddyfile
      - ./data:/data
      - ./config:/config
    restart: on-failure
Finally, we need to configure Caddy itself in the Caddyfile file. This defines all the hosts that you wish to access along with the ports they're listening on. This will also instruct Caddy to obtain a wildcard certificate for *.dev.example.com.
:80 {
  respond "Salutations!"
}

*.dev.example.com {
  tls {
    dns cloudflare [YOUR-CLOUDFLARE-API-KEY]
  }

  @rabbits host rabbits.dev.example.com
  handle @rabbits {
    reverse_proxy host.docker.internal:4700
  }

  @elephants host elephants.dev.example.com
  handle @elephants {
    reverse_proxy host.docker.internal:4710
  }

  @cats host elephants.dev.example.com
  handle @cats {
    reverse_proxy host.docker.internal:4720
    reverse_proxy /api host.docker.internal:4721
  }
}Run a web service
To enable you to test things are working, start a web server on one of the ports you've configured.
Run Caddy
The last bit, we can run Caddy and see if everything is working. Use the command below to start the caddy contianer in the foreground.
$ docker compose upIf everything has gone to plan, you'll be able to see some logs from Caddy and observe that it has successfully obtained a certificate for *.dev.example.com.
You should now be able to access your project on the hostname that you chose.
If you're happy, you can CTRL+C the container and then re-run adding the -d flag to run it in the background and ensure that it's always running.
$ docker compose up -dConclusions
That's all there is to it really. Fairly neat.
In the next part, I'm going to explain how to slightly adjust this set up to allow you to expose these same web services to the wider internet to help with testing on mobile devices, using webhooks or just showing off to others without worrying about re-deploying everything. Stay tuned!
Some other recent posts

My development environment
In this video I'm taking a quick look at my development environment. Looking at code editor, terminal, databases, containers, web servers and more.

A quick intro to service classes
To get things started, in this video I'm looking at how service classes are used in the application. Service classes form the basis for much of the logic within this app so it's a good place to start

I'm building an app hosting platform
I'm building a app hosting platform and in this video I'm going to introduce you to the project and show you what I've got so far.